How to configure Timer Pro for multi-monitor setup
Timer Pro offers advanced multi-display support, enabling timer display on additional monitor or projector while controlling it from main computer.
Prerequisites
- Additional monitor or projector connected to computer
- Configured system with extended displays (not mirroring)
- Timer Pro version 1.2.0 or newer
- Graphics card drivers installed and up to date
Step 1: Hardware Connection and Configuration
Connecting monitor/projector
- Connect additional monitor or projector with HDMI, VGA, or DisplayPort cable
- Turn on projector and set proper input source
- Wait for Windows/macOS to detect the device
Windows Configuration
- Right-click desktop and select "Display settings"
- Click "Detect" if monitor is not visible
- Select "Extend these displays" (not "Duplicate")
- Set resolution and orientation for screens
- Click "Apply"
Step 2: Timer Pro Configuration
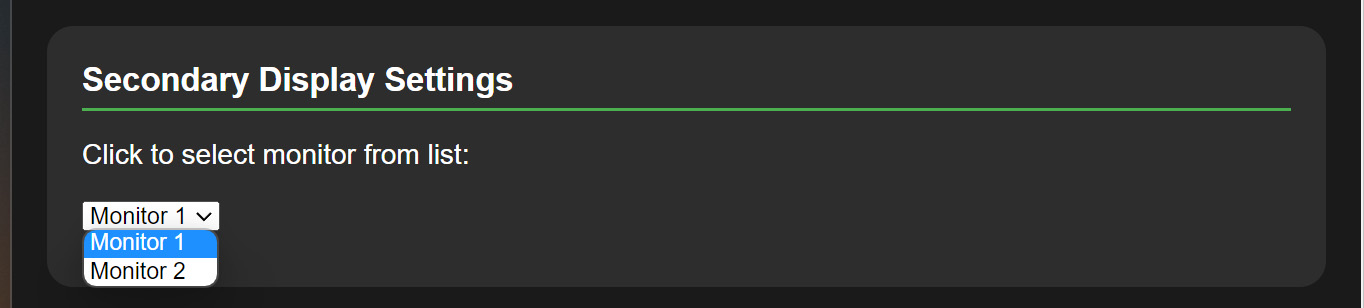
Display Settings
- Launch Timer Pro
- Go to "Settings" tab (F2)
- Find "Display" section
- From "Monitor" dropdown select target screen
- Click "Open Secondary Display"
Troubleshooting
Monitor not detected
- Check connections: Make sure cables are properly connected
- System restart: Restart computer with monitor connected
- Drivers: Update graphics card drivers
Technical Support
In case of multi-display configuration problems:
- Email: staszek@as-media.com.pl
- Include information: Graphics card model, operating system, monitor type